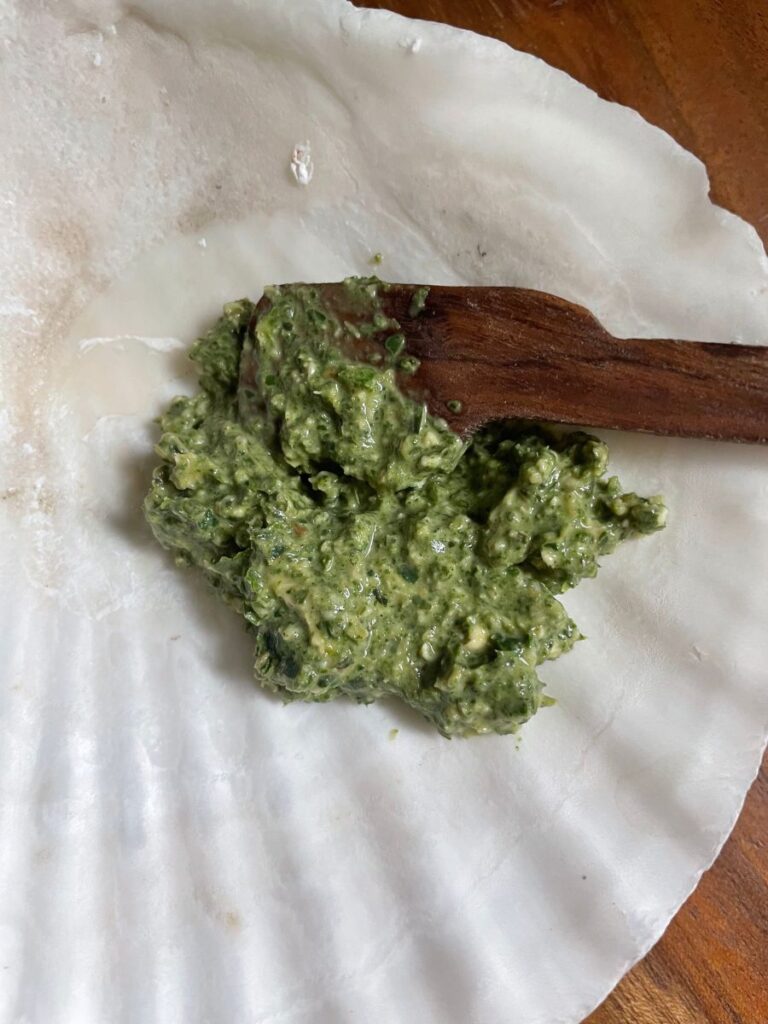
There are a lot of skincare products on the market containing neem, but my homemade mask actually leaves my skin markedly improved immediately. Rather than a processed extract, my skin can soak up the plant essence fresh from the stem.
Neem is known as the “pharmacy” of ayurvedic herbs due to its myriad support: healing, soothing, antimicrobial, anti-inflammatory, antiseptic and itch relief. It addresses the acute concerns of wounds, acneic, roseated and irritated skin. It is also supports the full journey of skin healing, offering nutrition in the form of antioxidants and fatty acids, helping skin form new collagen, hydrating and healing the skin barrier, evening out skin tone, and reducing fine lines.
Honey serves as a textural binder in this recipe and also mimics the healing properties of neem. While neem is cooling and bitter, which is perfect for soothing irritated skin, honey adds a mild, healing warmth, balancing out the recipe.
Oats add more binding texture and “substance” to the face pack, allowing it to set and hold together more firmly. Mirroring their texture, oats also offer a third form of soothing protection for the skin barrier. They help this mask “set” and dry out slightly, making removal easier and also providing a gentle exfoliation to the skin.
Ingredients
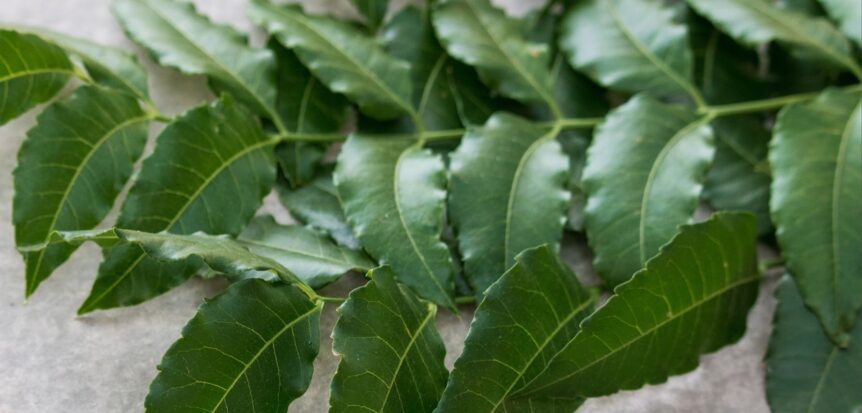
- 1 cup fresh neem leaves
- 2-3 tbsp organic oats
- 1 cup water
- 1 tsp local or otherwise high quality honey
Where to find neem
Indian and Asian groceries often carry fresh neem, though it’s best to call in advance to check their stock. You can also find suppliers online if your local providers don’t carry it.
Instructions
- Boil ½ cup of neem leaves in water, then let cool.
- Blend cooked leaves with another ½ cup of fresh leaves until smooth.
- Add a teaspoon of honey and blend.
- Add a tablespoon of organic rolled oats and a splash of the neem water, then blend.* Add more oats and water as needed to achieve a thick paste.
- Apply to clean skin and let set for 10-15 minutes before wiping off. You can let it dry and leave on for up to 30 minutes.
- To remove: don’t wipe into your sink or tub drain – this face mask is chunky and is best for removing into the toilet, compost or waste bin so you don’t clog your pipes. If the mask is too sticky to remove with your fingers, carefully swipe off the bulk of it with a spoon or spatula. You can rinse any final, itty bits, and those should be safe to go down the drain.
*It may be helpful to blend in these three stages for a smooth result, but you can experiment with collapsing the steps depending on your blender’s strength.